Introduction
First of all, you need to make sure that your web hosting complies with system requirements for the correct operation of DATSO.FR products. If applicable, you can place an order for your preferred subscription and download the necessary products.
Browser support
Listed below are the browsers that DatsoGallery is tested on. Latest means that DATSO.FR products work great on all the latest versions of this browser. Due to the fact that many browsers are updated quite often, fixing a specific version of the browser has become difficult, but the fact that DATSO.FR products will work on almost any modern browser is guaranteed.


Installation
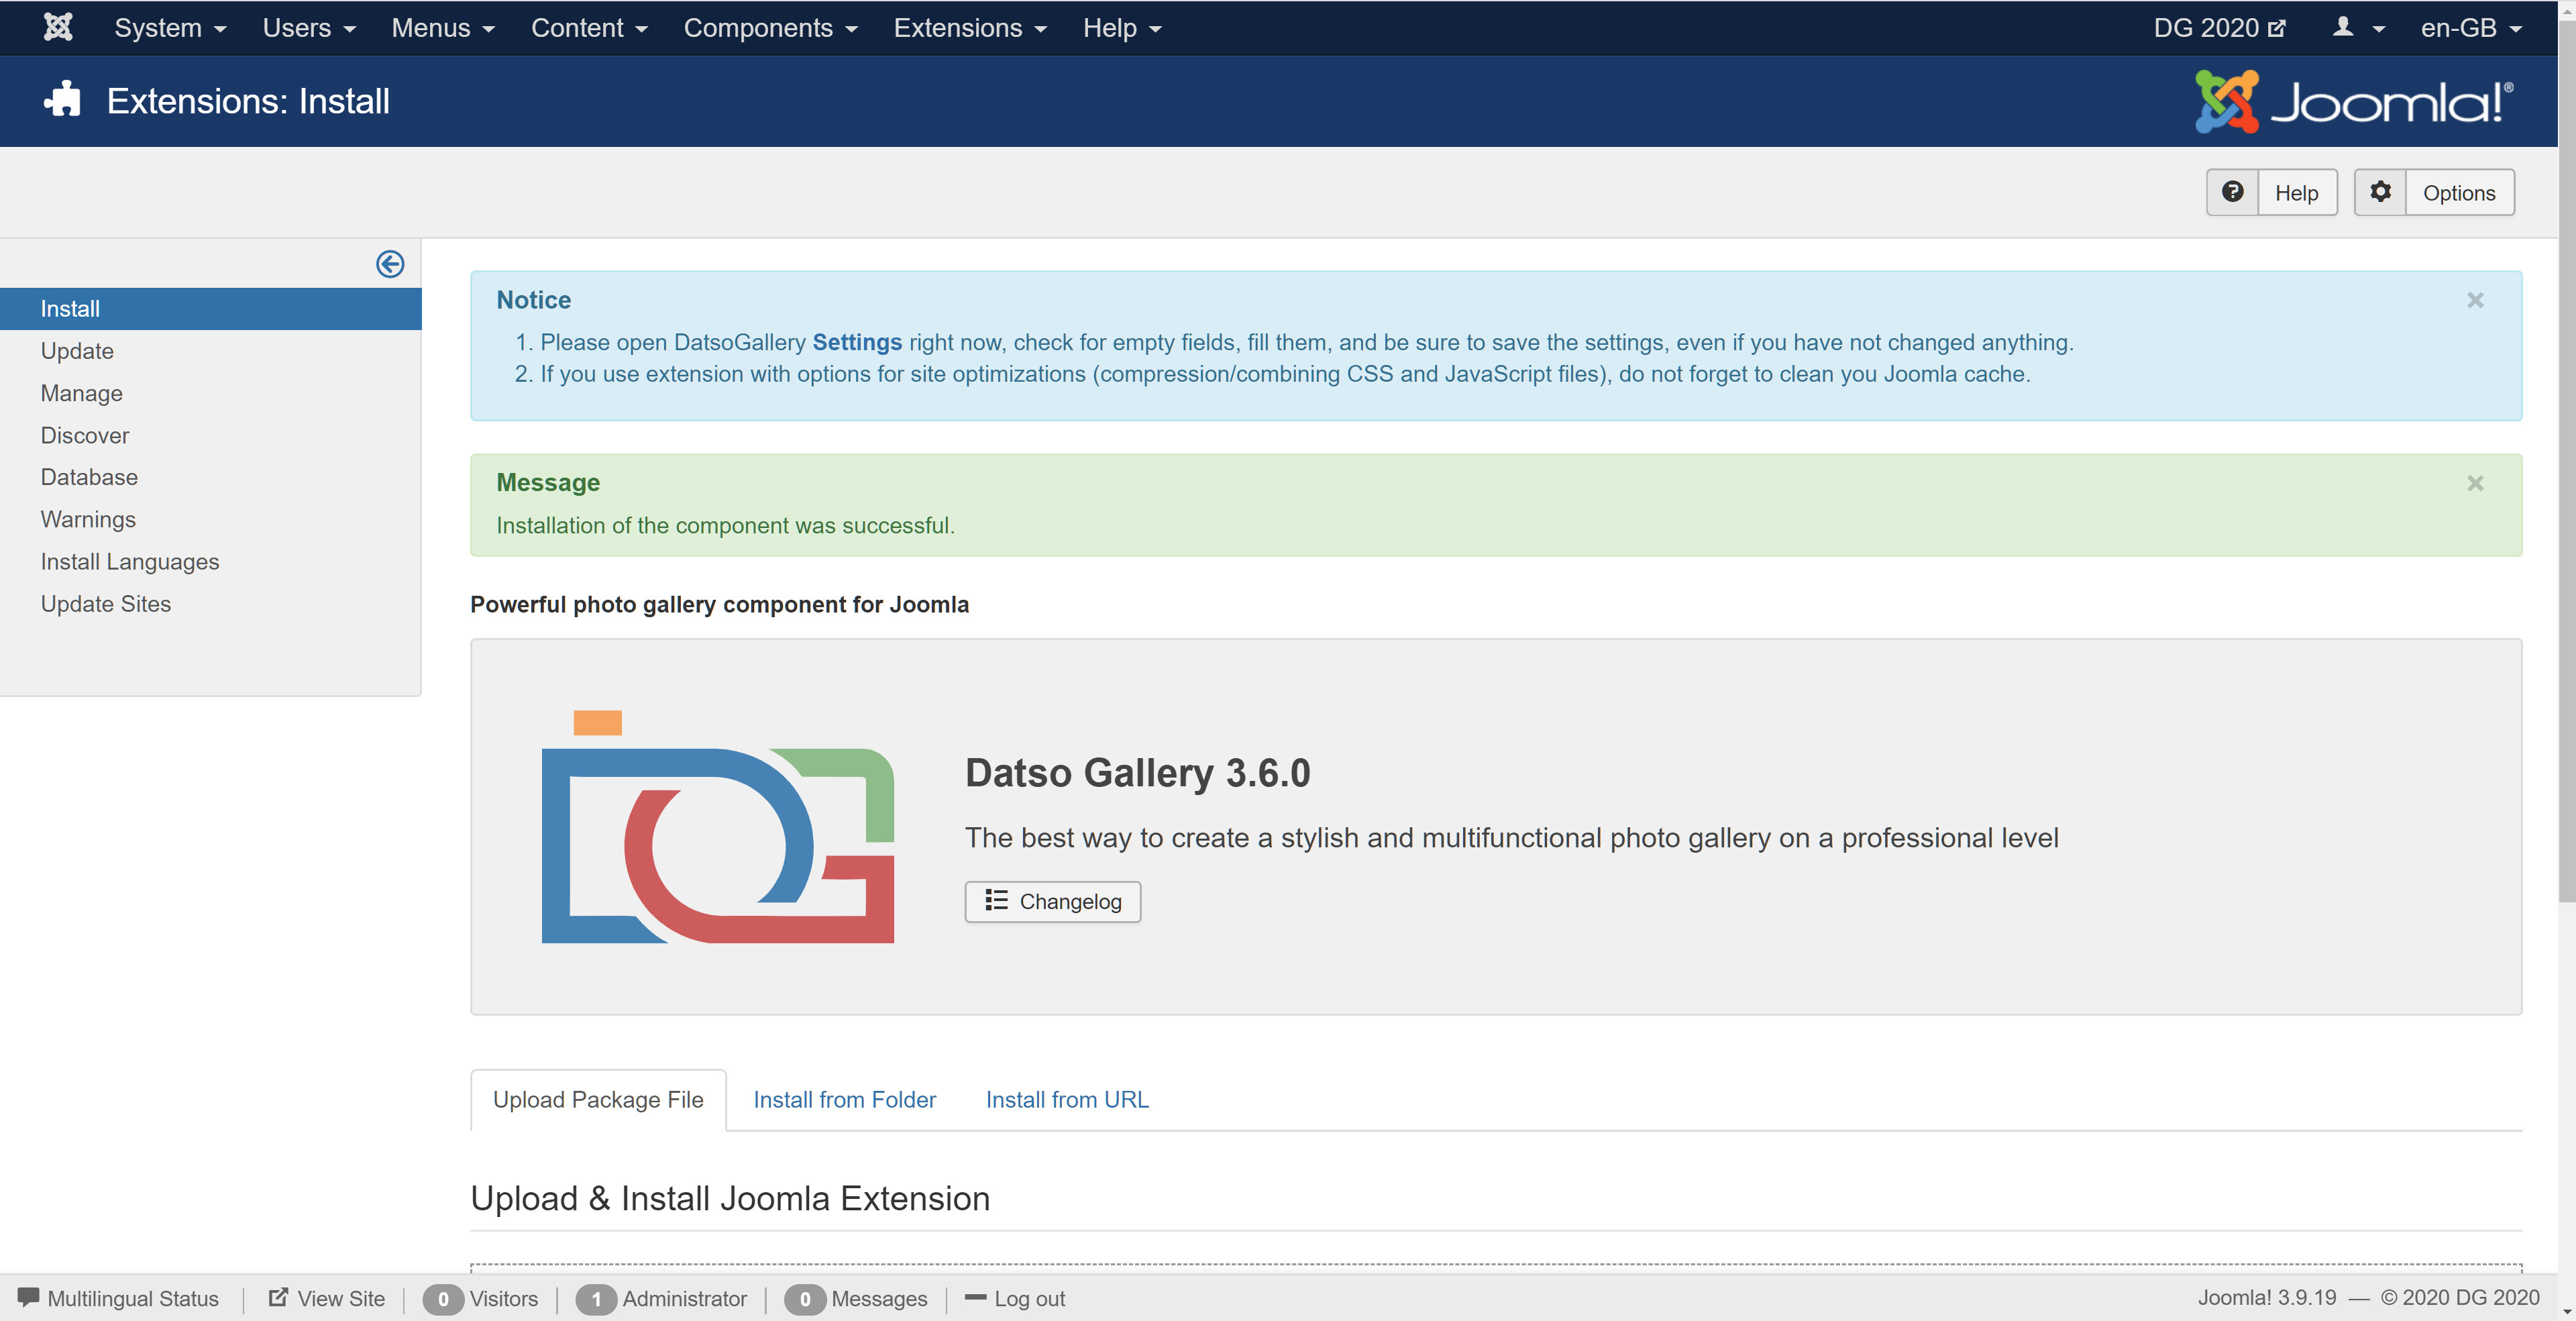
The first step is to install the DatsoGallery component and subsequently, configure it. Installation is done in the standard way, through the Joomla installer.
Settings
Immediately after the successful installation of the component, it is very important to go into its settings, make the necessary changes in the parameters, after which it is necessary to save the settings for applying new and / or changed parameters, if the component was updated.
If the component is installed for the first time, there are several parameters in the settings that cannot be predicted. Therefore, your participation is required in order to apply the default settings plus the new ones that you set.
First, you need to create one or more categories to which the uploaded images will be assigned, then you can work with the gallery settings.
- Go to Categories and create one or more, taking into account how you will use the gallery.
- If you want to allow your registered users to upload images from the front-end and at the same time allow the creation of their own categories, you should create one specific that will serve as the root category for future subcategories created by your users.
- If you want your users to upload their images to the categories you specify, then you should work a little and create a set of categories available for your users.
- In case when neither images nor categories are needed from your users, that is, you are the only one who manages the gallery, you still need to create one or several categories to assign the images you upload.
- Categories are created, now let's go to the gallery settings.
- In the Upload tab, the parameter Max images per user decide how you will use the gallery :
- If you want to allow registered users to upload their images from front-end, you need to specify the values for user groups.
- The value greater than 0 means the specific maximum number of images that the user in the corresponding group can upload.
- The value 0 means the user who is in the corresponding group will not be able to add his images to the gallery.
- The value -1 means the user who is in the corresponding group has no restrictions on adding his images.
- Super users are not affected by this parameter.
- If you want to prevent all registered users from uploading images, specify the value 0 for all user groups.
- If you want to allow registered users to upload their images from front-end, you need to specify the values for user groups.
- Remaining in the Upload tab, determine the Members categories parameter.
- If you want to allow your users to upload their images and create their own photo albums :
- Enable Members categories.
- In the next parameter, select from the list the category that you created specifically for your users.
- If you want to allow your users to upload their images, while not allowing them to create their own photo albums :
- Disable Members categories
- In the next parameter, select from the list those categories (you can select multiple) that you created.
- If you are the only one to manage the gallery, the Members categories should be disabled and in the next parameter Allowed categories you need to select any of the available ones, this option will not apply to you as a super user, this is only necessary internally.
- If you want to allow your users to upload their images and create their own photo albums :
- In the Upload tab, the parameter Max images per user decide how you will use the gallery :
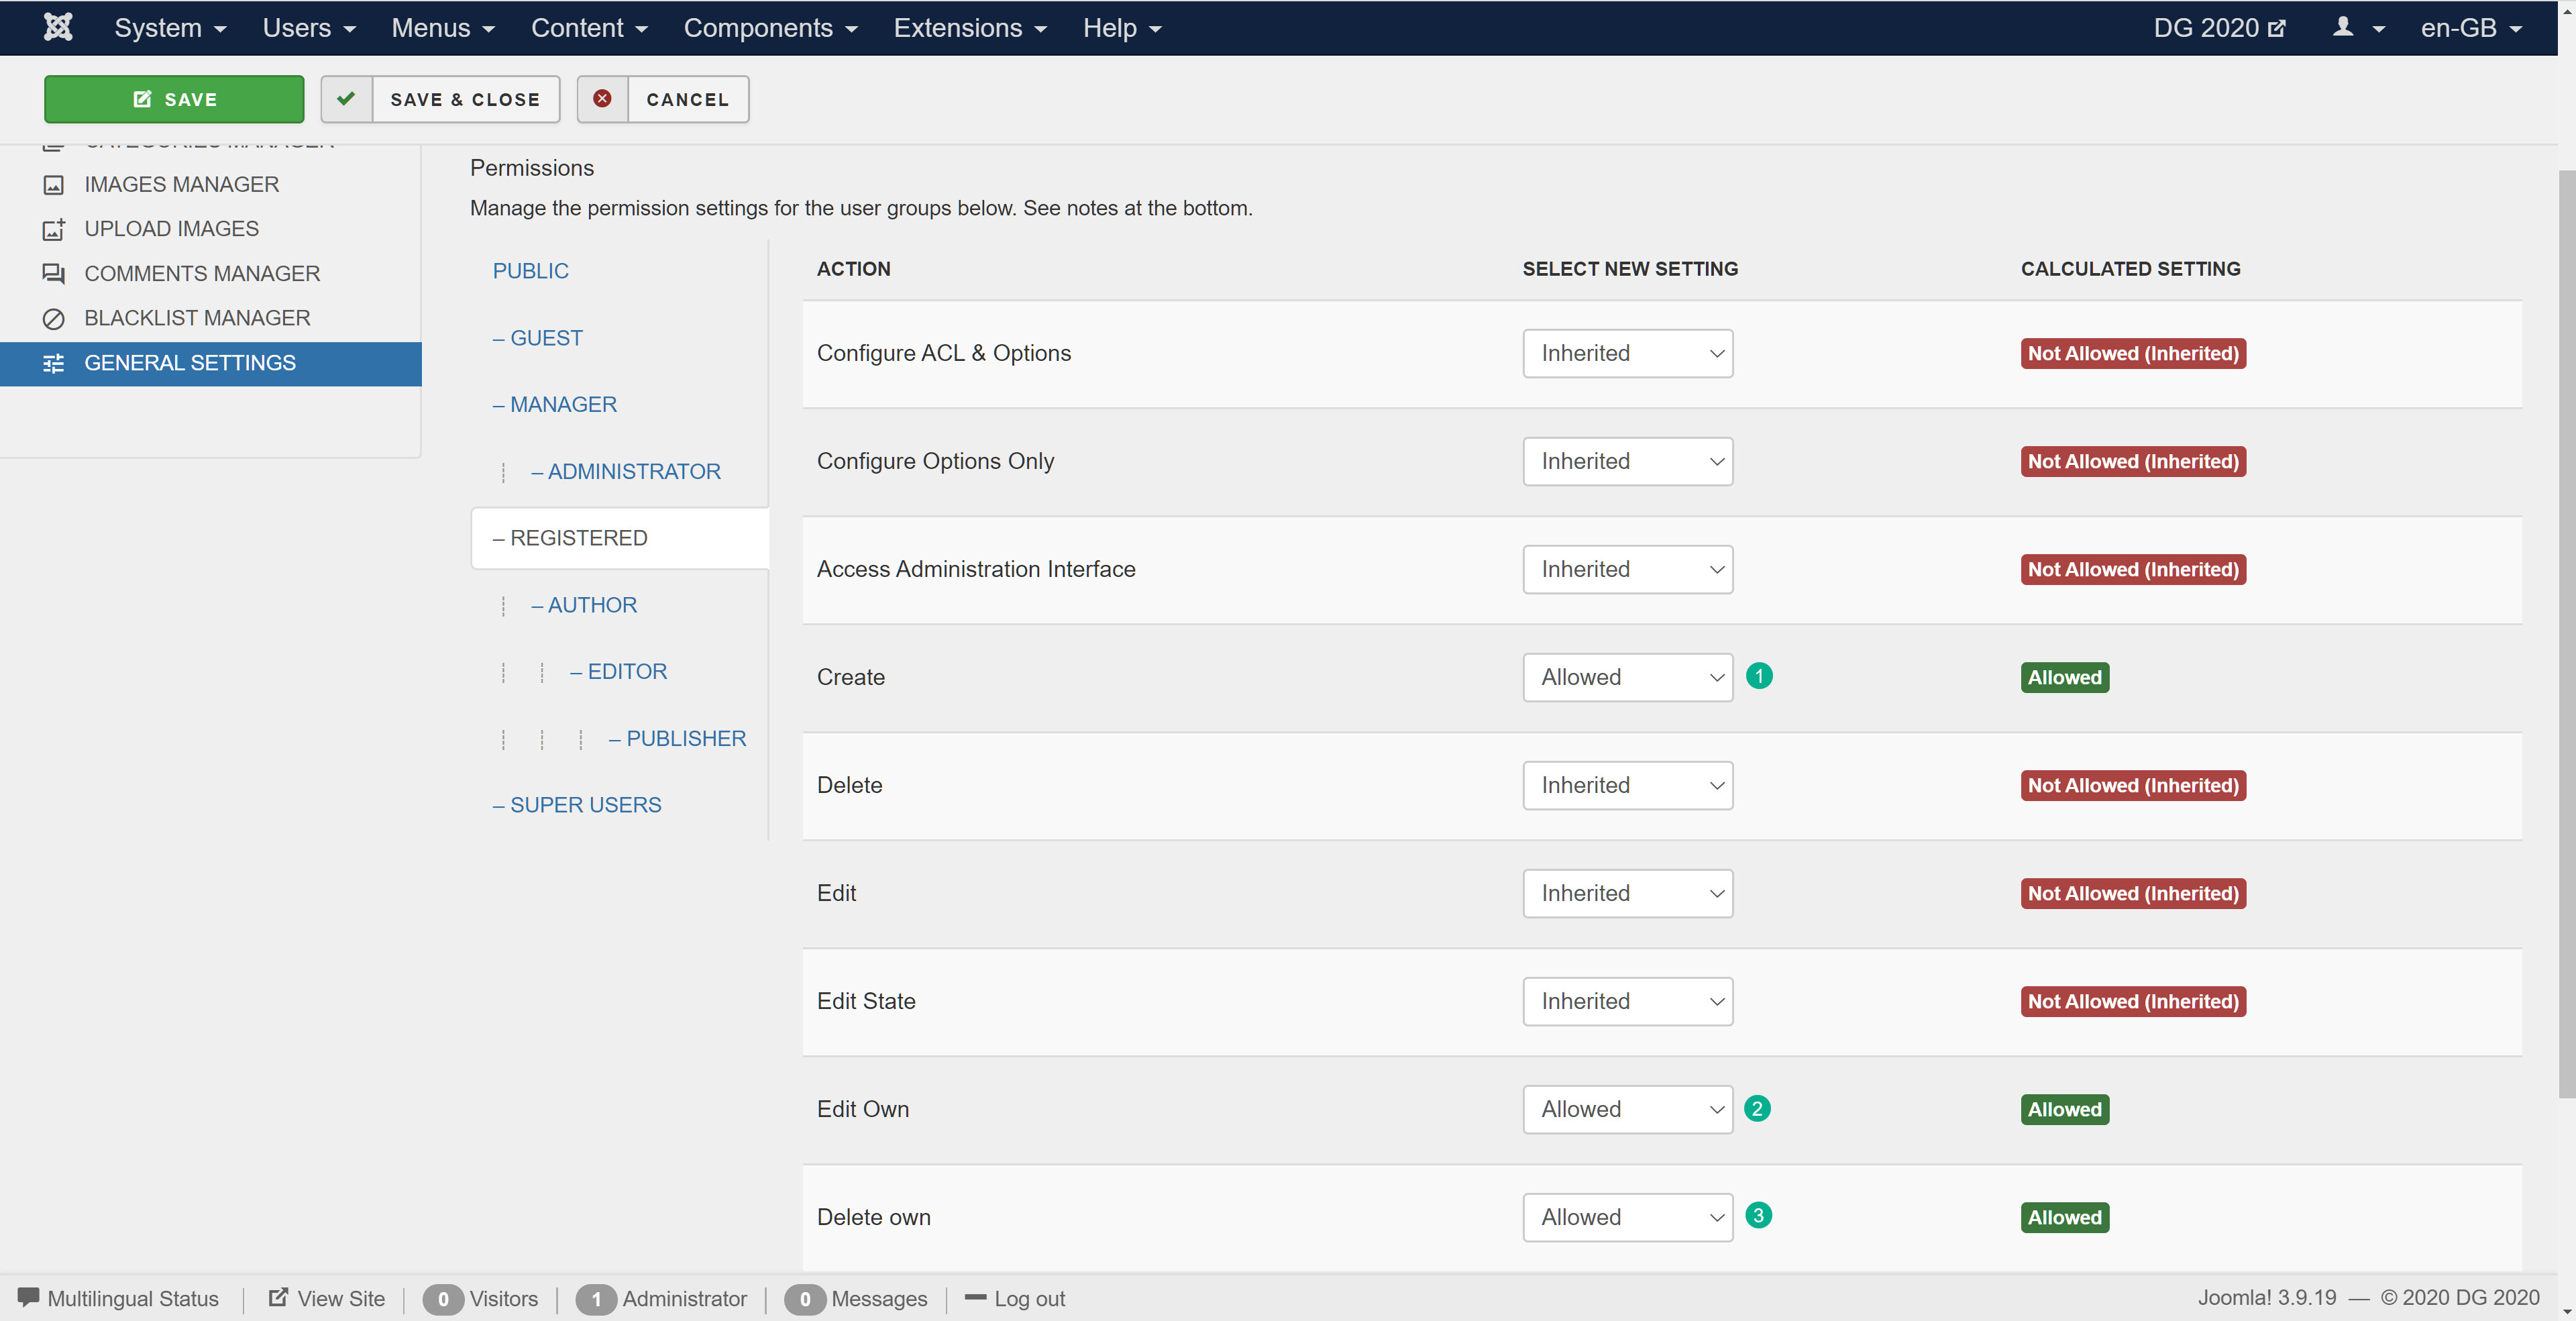
- If you want to allow your users to upload their images and create their own categories, click the Permissions tab and give the appropriate access rights for user groups :
- Once you have decided how you will use the gallery and make the desired setting, press Save button.
Menu сreation
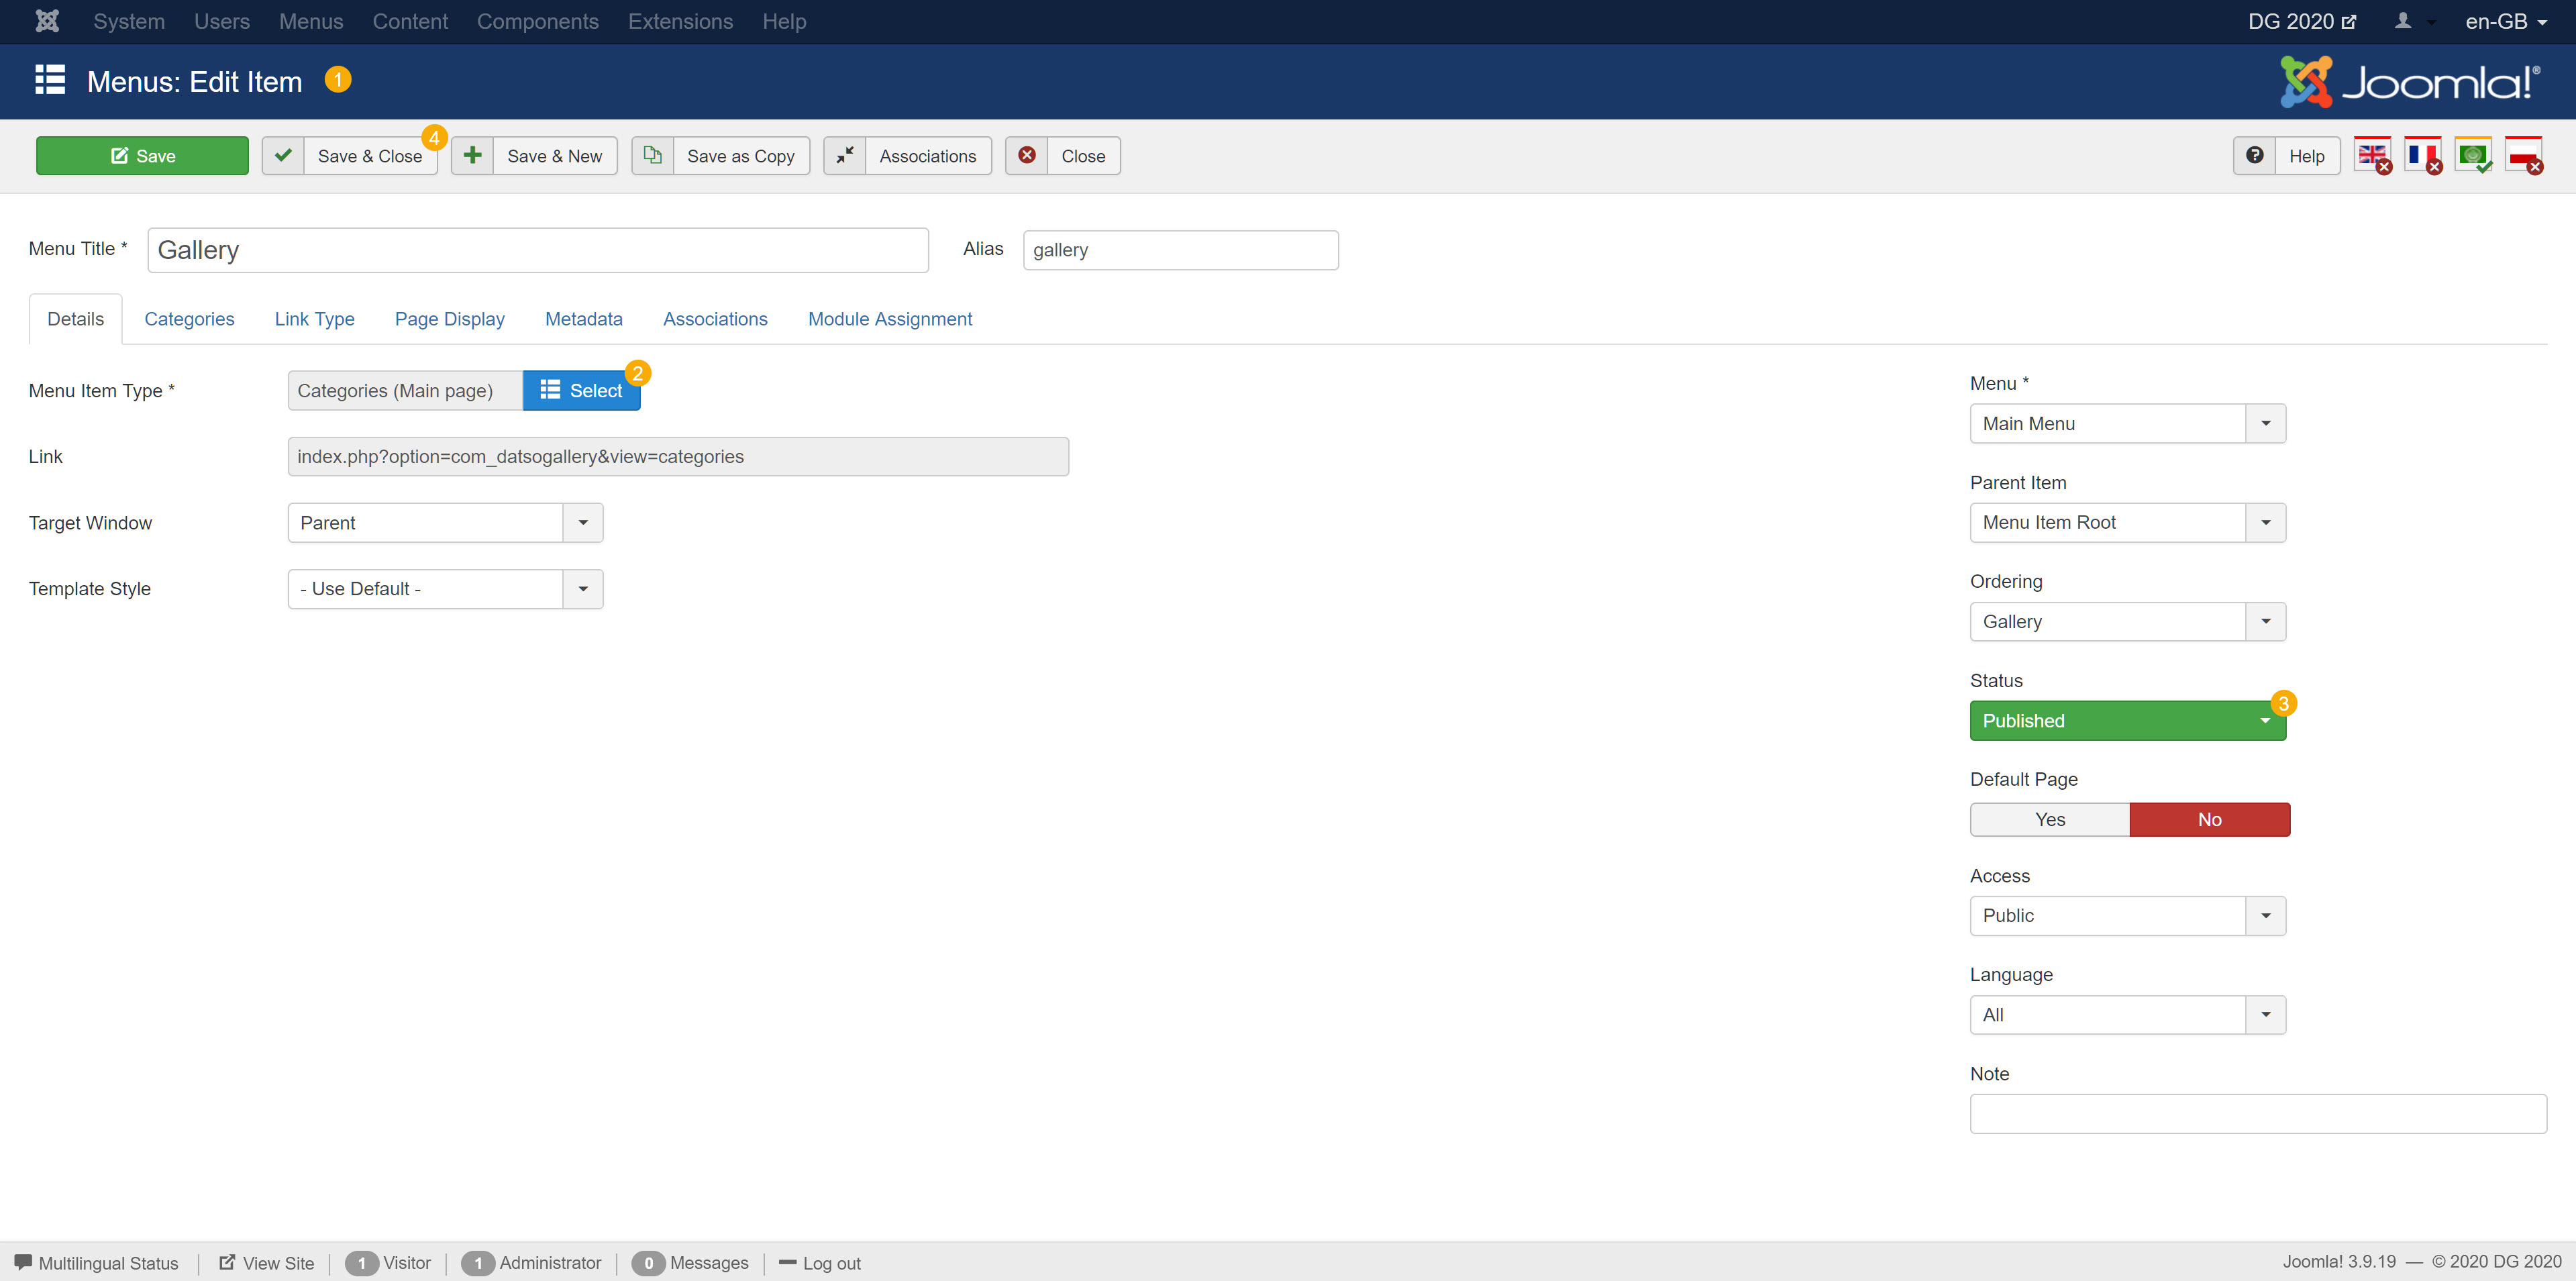
- Create a menu item for the gallery main page and publish it
- If you want to use access to certain categories of the gallery through the menu without displaying the menu item of the gallery main page, set No in Display in Menu parameter
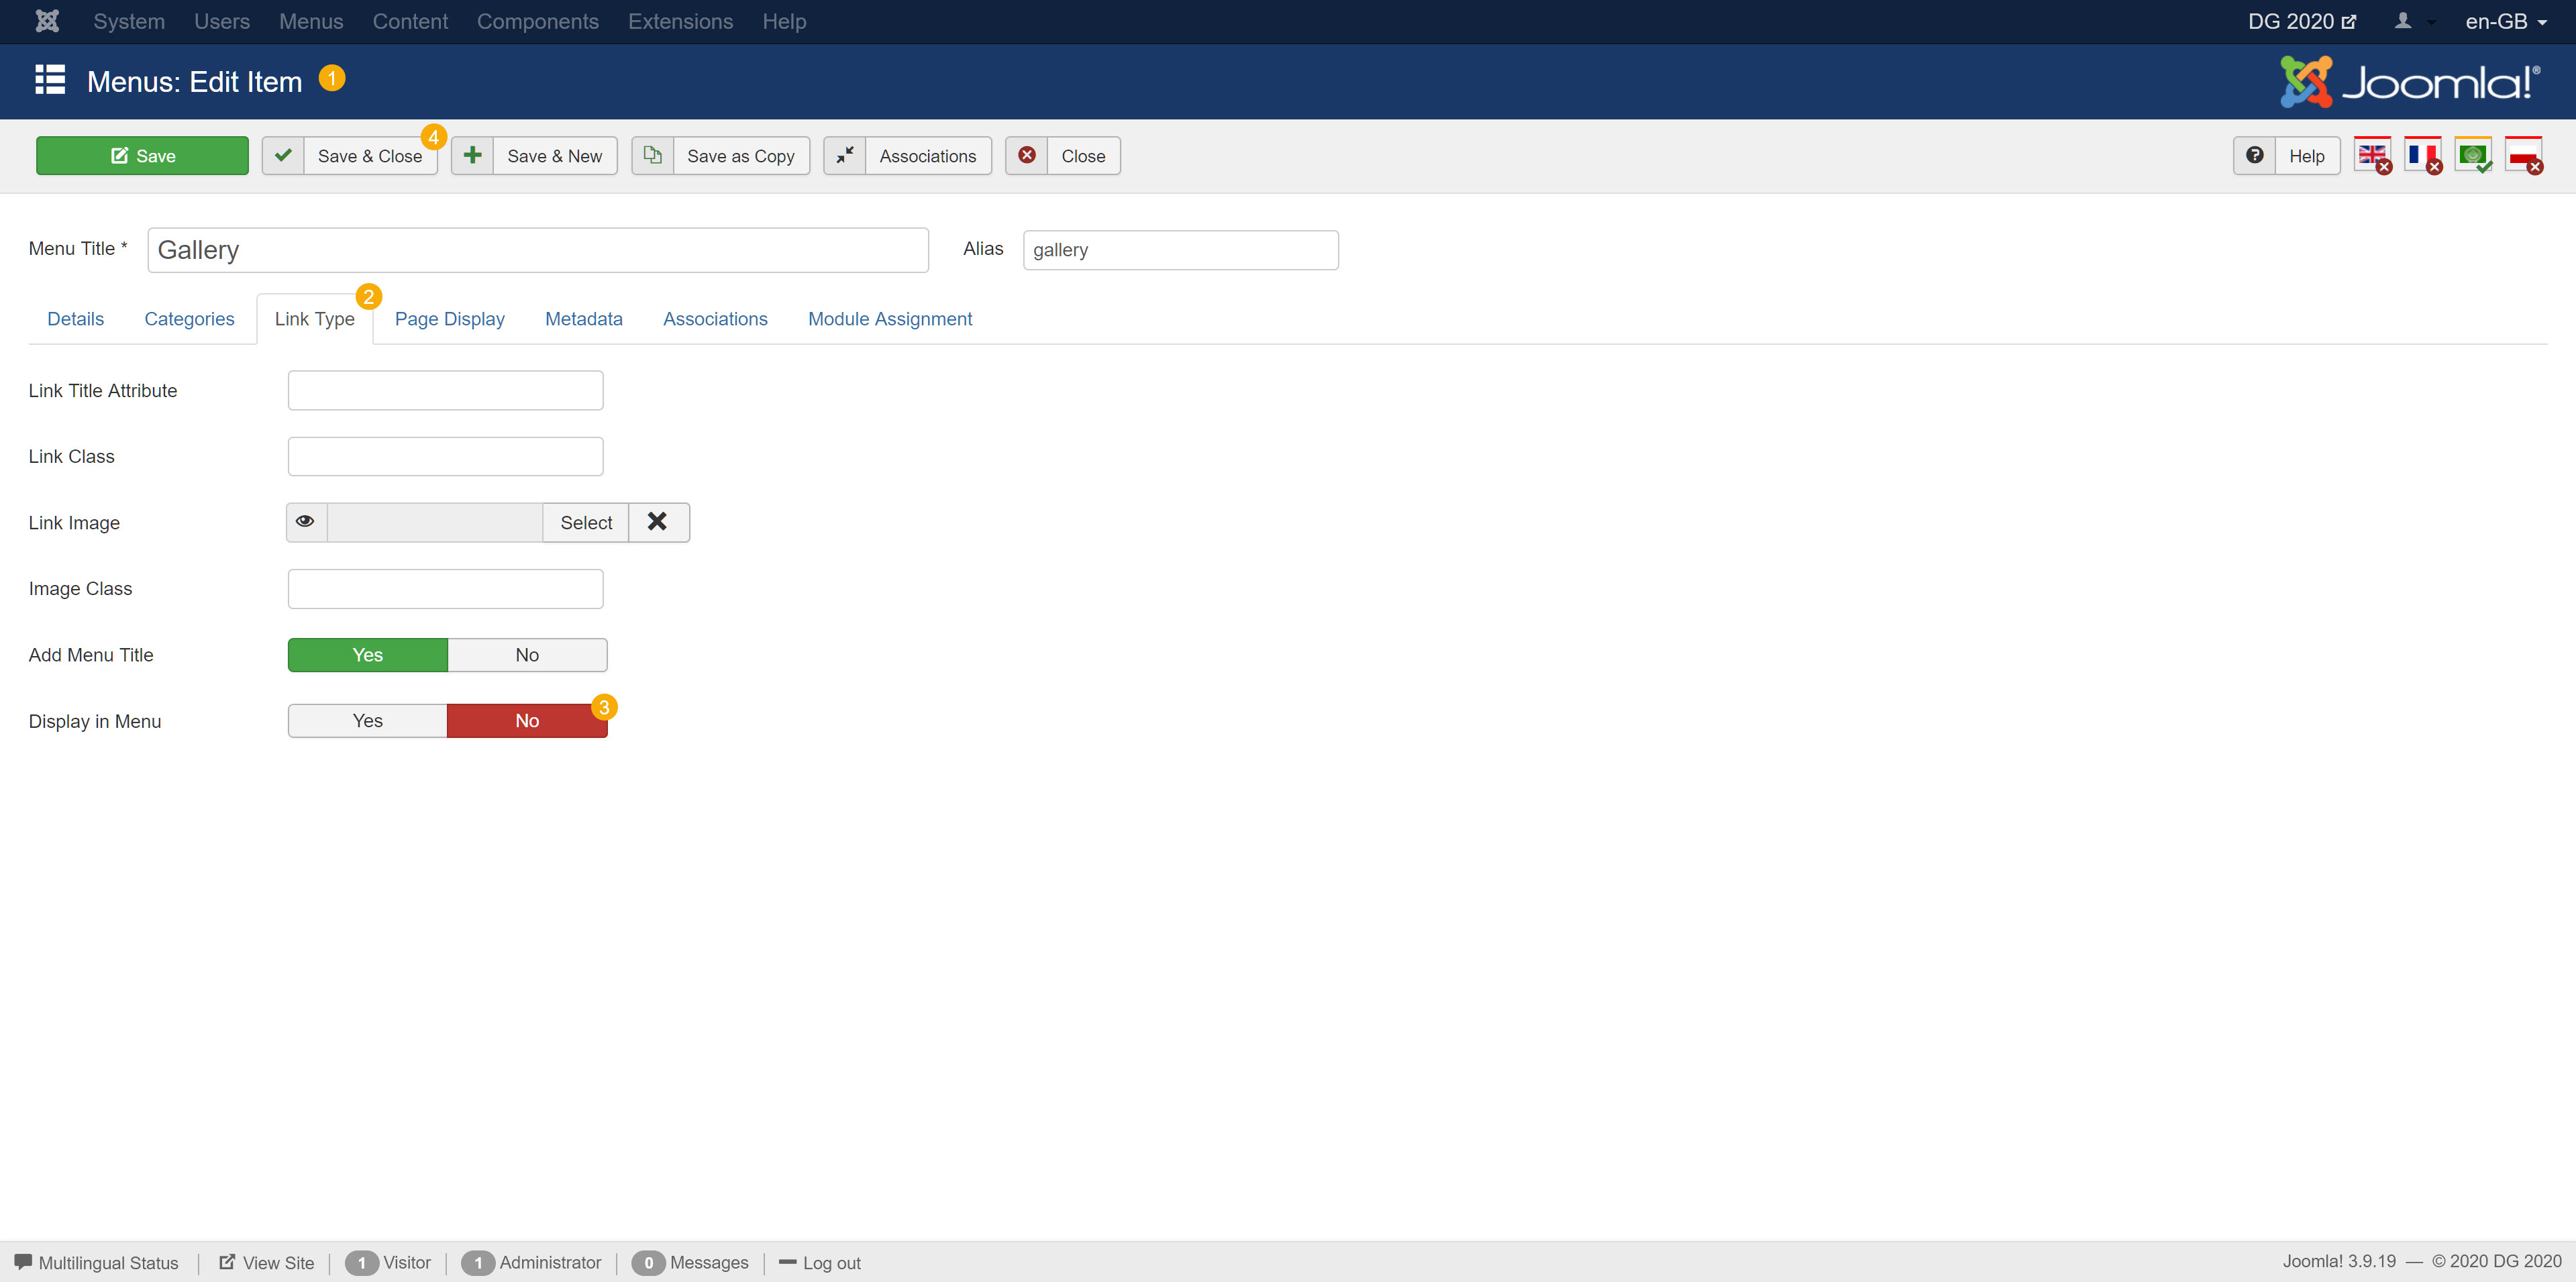
- If you want to use access to certain categories of the gallery through the menu without displaying the menu item of the gallery main page, set No in Display in Menu parameter
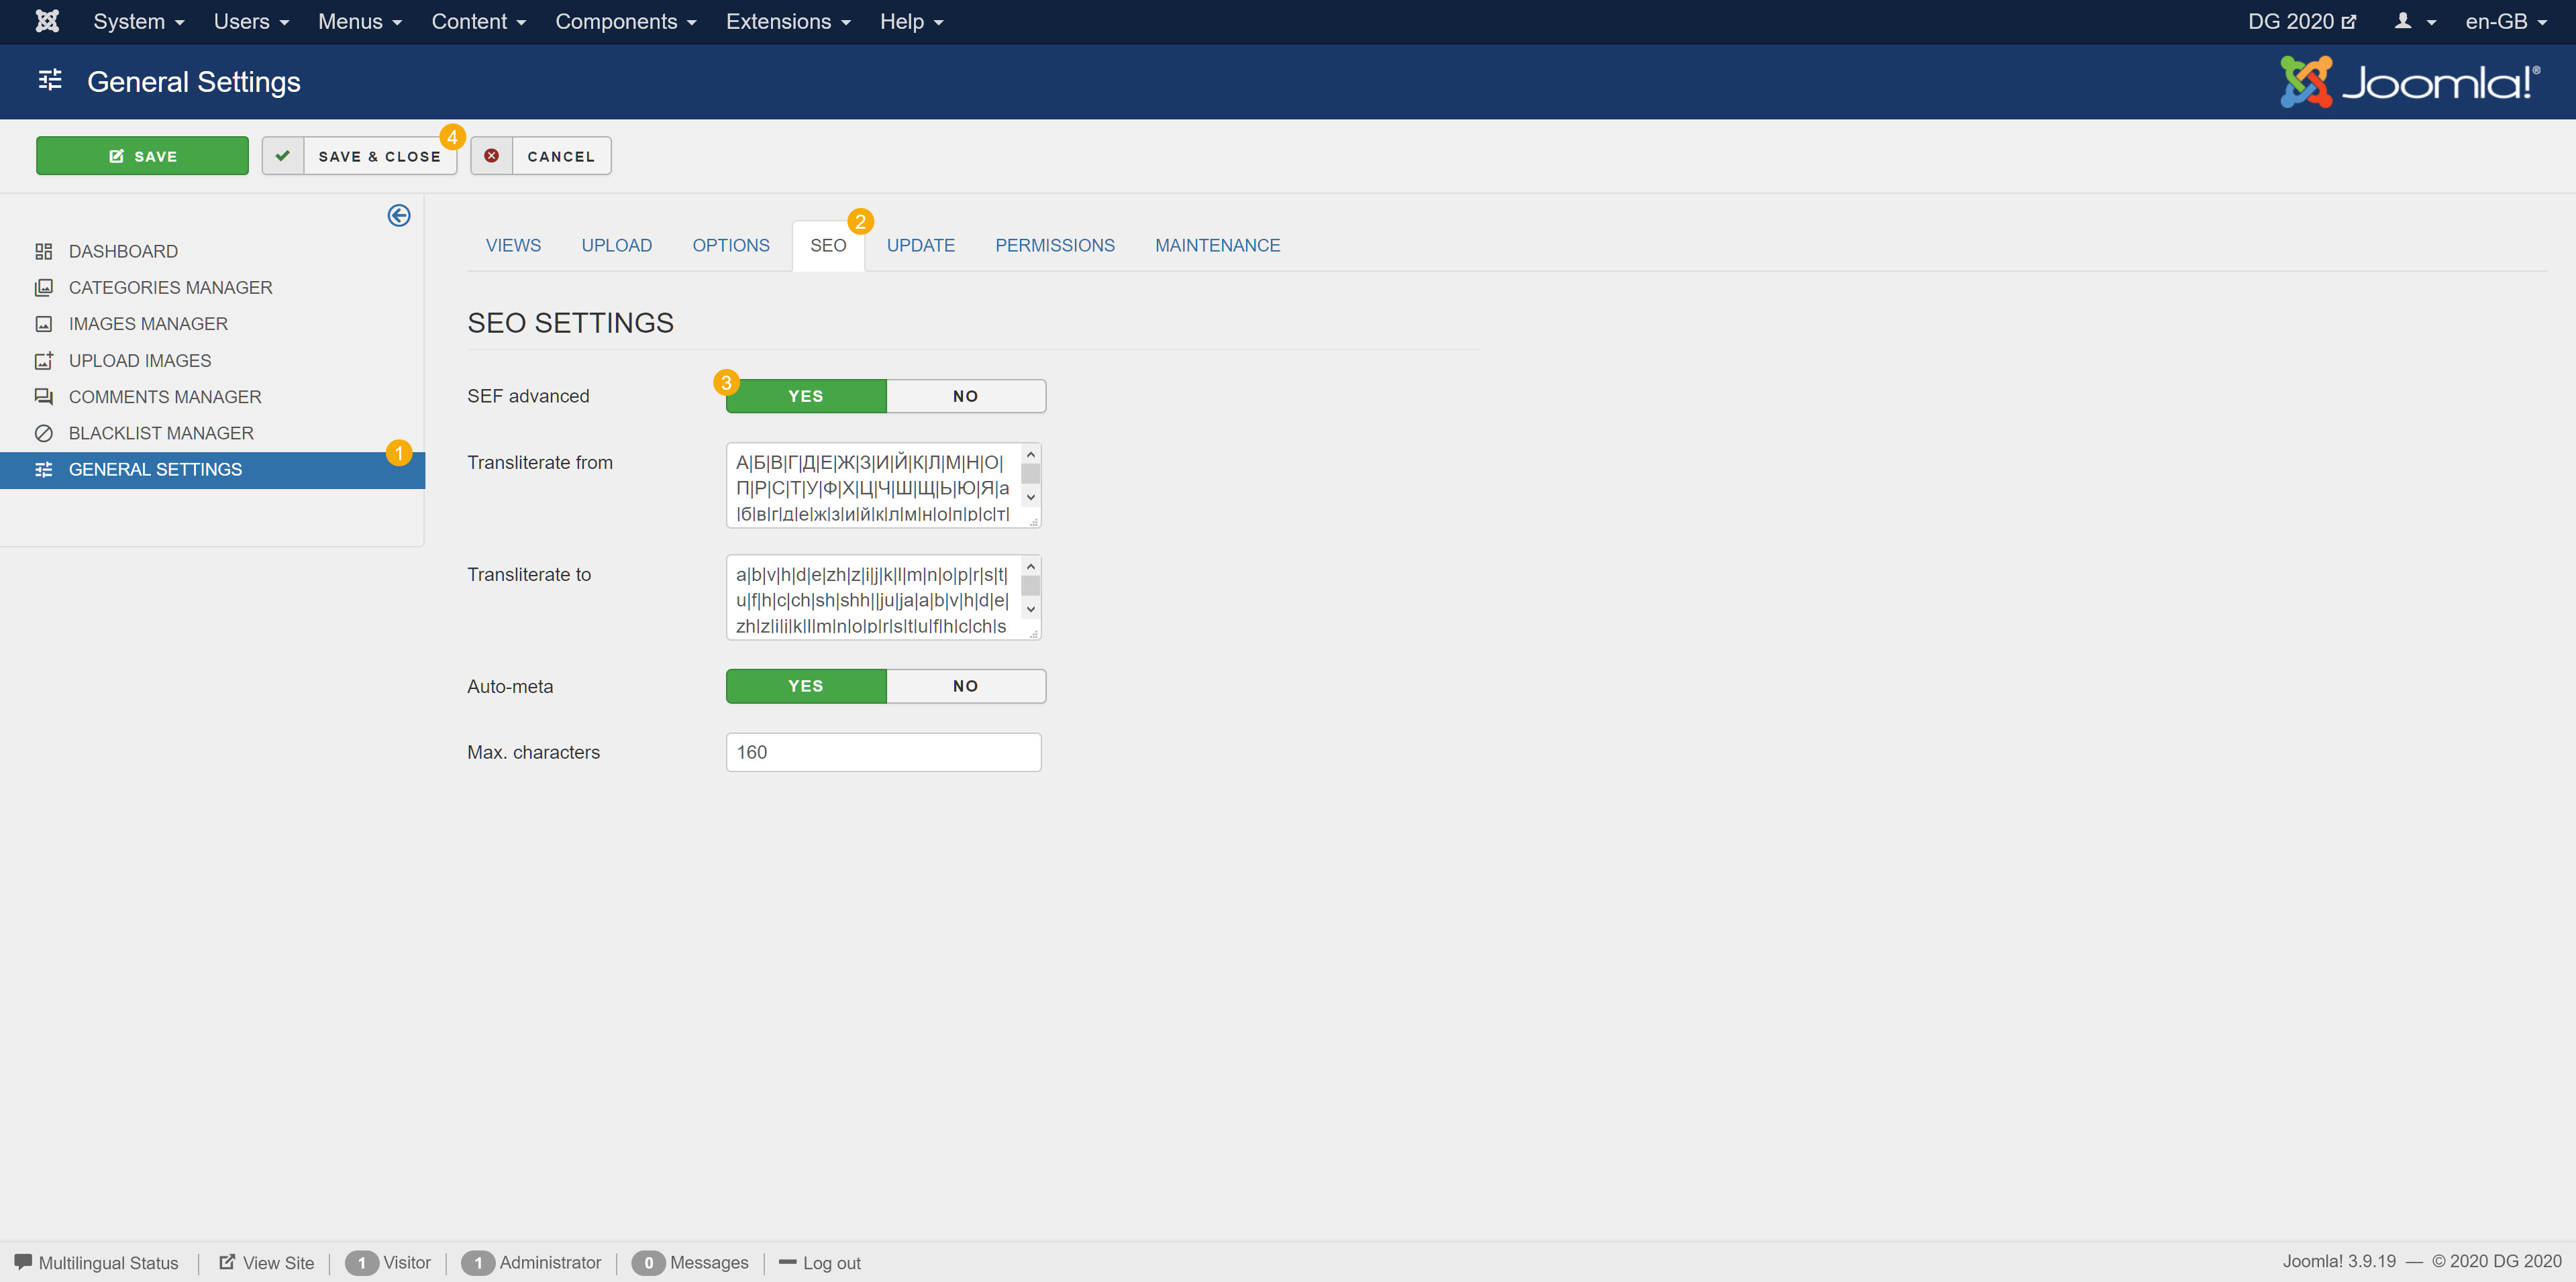
SEF advanced
- If you want to use beautiful urls in the gallery, open the DatsoGallery Settings, in SEO tab enable Advanced SEF and save settings
These are the main things when setting up the photo gallery for the first time, all other settings are optimal. If necessary, everything is in your hands. There is no reason to worry that something can be violated in the component settings and everything will collapse. For such cases, in the component settings there is a special tool Restore Settings, which, as it became clear from the name, will restore all the component settings to default. The presence of such a tool is certainly good news, but experimenting with the settings is not recommended. Each parameter has a hint about its purpose.